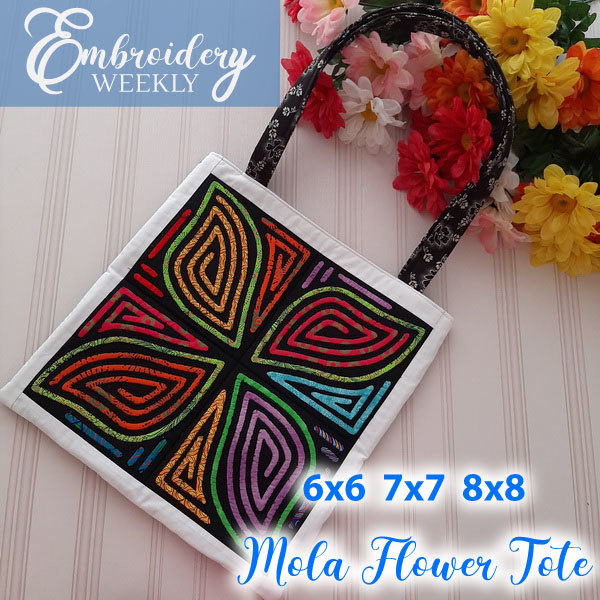
Mola Flower Tote - 3 Sizes
| Merchant |
Click here to see all designs by Embroidery Weekly |
|---|---|
| Price | 15.00 |
| File Formats | DST EXP HUS JEF PES VIP VP3 XXX |
I have been fascinated with Mola embroidery for a very long time. When I was 7 years old, my mom got a book from our local library all about Mola embroidery and ever since, I have loved the beautiful designs and technique.
Mola embroidery is essentially a version of reverse applique. It is traditionally done by hand, by the women in Panama.
There are several variations for reverse applique done for the embroidery machine. All that I have seen are done as a raw edge applique. I didn’t want that complete raw edge look but I also didn’t want the heavy satin stitch edge that is used in machine applique. So, I tried to find a happy in between. Instead of using a satin stitch edging, I opted for a zig-zag edging and additional single stitching. This gives a neater finish but without the heavy satin stitch edging.
I have used a variation of reverse applique for my Mola design. Colorful pieces of fabric are layered and then final black fabric is added. Once this fabric is added and stitched in place, sections are then cut out to reveal the jewel like color fabric underneath.
This technique is really easy to do. Use a sharp pair of scissors with thin blades for neat cutting of fabric. If your scissors “chew” when cutting, you will get hairy edges.
This tote uses 4 Mola Flower Blocks. These blocks are done in the embroidery machine. The tote is then sewn together on a regular sewing machine.
The tote in these instructions is made using the 6x6 design. Larger design sizes are included in the design pack (7x7 and 8x8 designs) should you wish to make other projects, such as cushions or a quilt.
The finished size of the tote is approximately 14 ½” x 14 ½” excluding the handles. The handles are a comfortable length, so you sling this tote over your shoulder.
Designs done for the 6x6, 7x7 and 8x8 hoops.
